Important Note: The OCHART messaging system is not a replacement for your email. Recipients of the message will be notified of the message through their agency email, but the contents of the message are only visible on OCHART. You must log in to access OCHART messages.
Click the mail icon located in the top right of the main navigation. If you have unread messages, this icon will have a small red dot.
You will be automatically taken to your inbox, where you can view messages you have received. If a message has bold text, it indicates that you have no yet read that message.
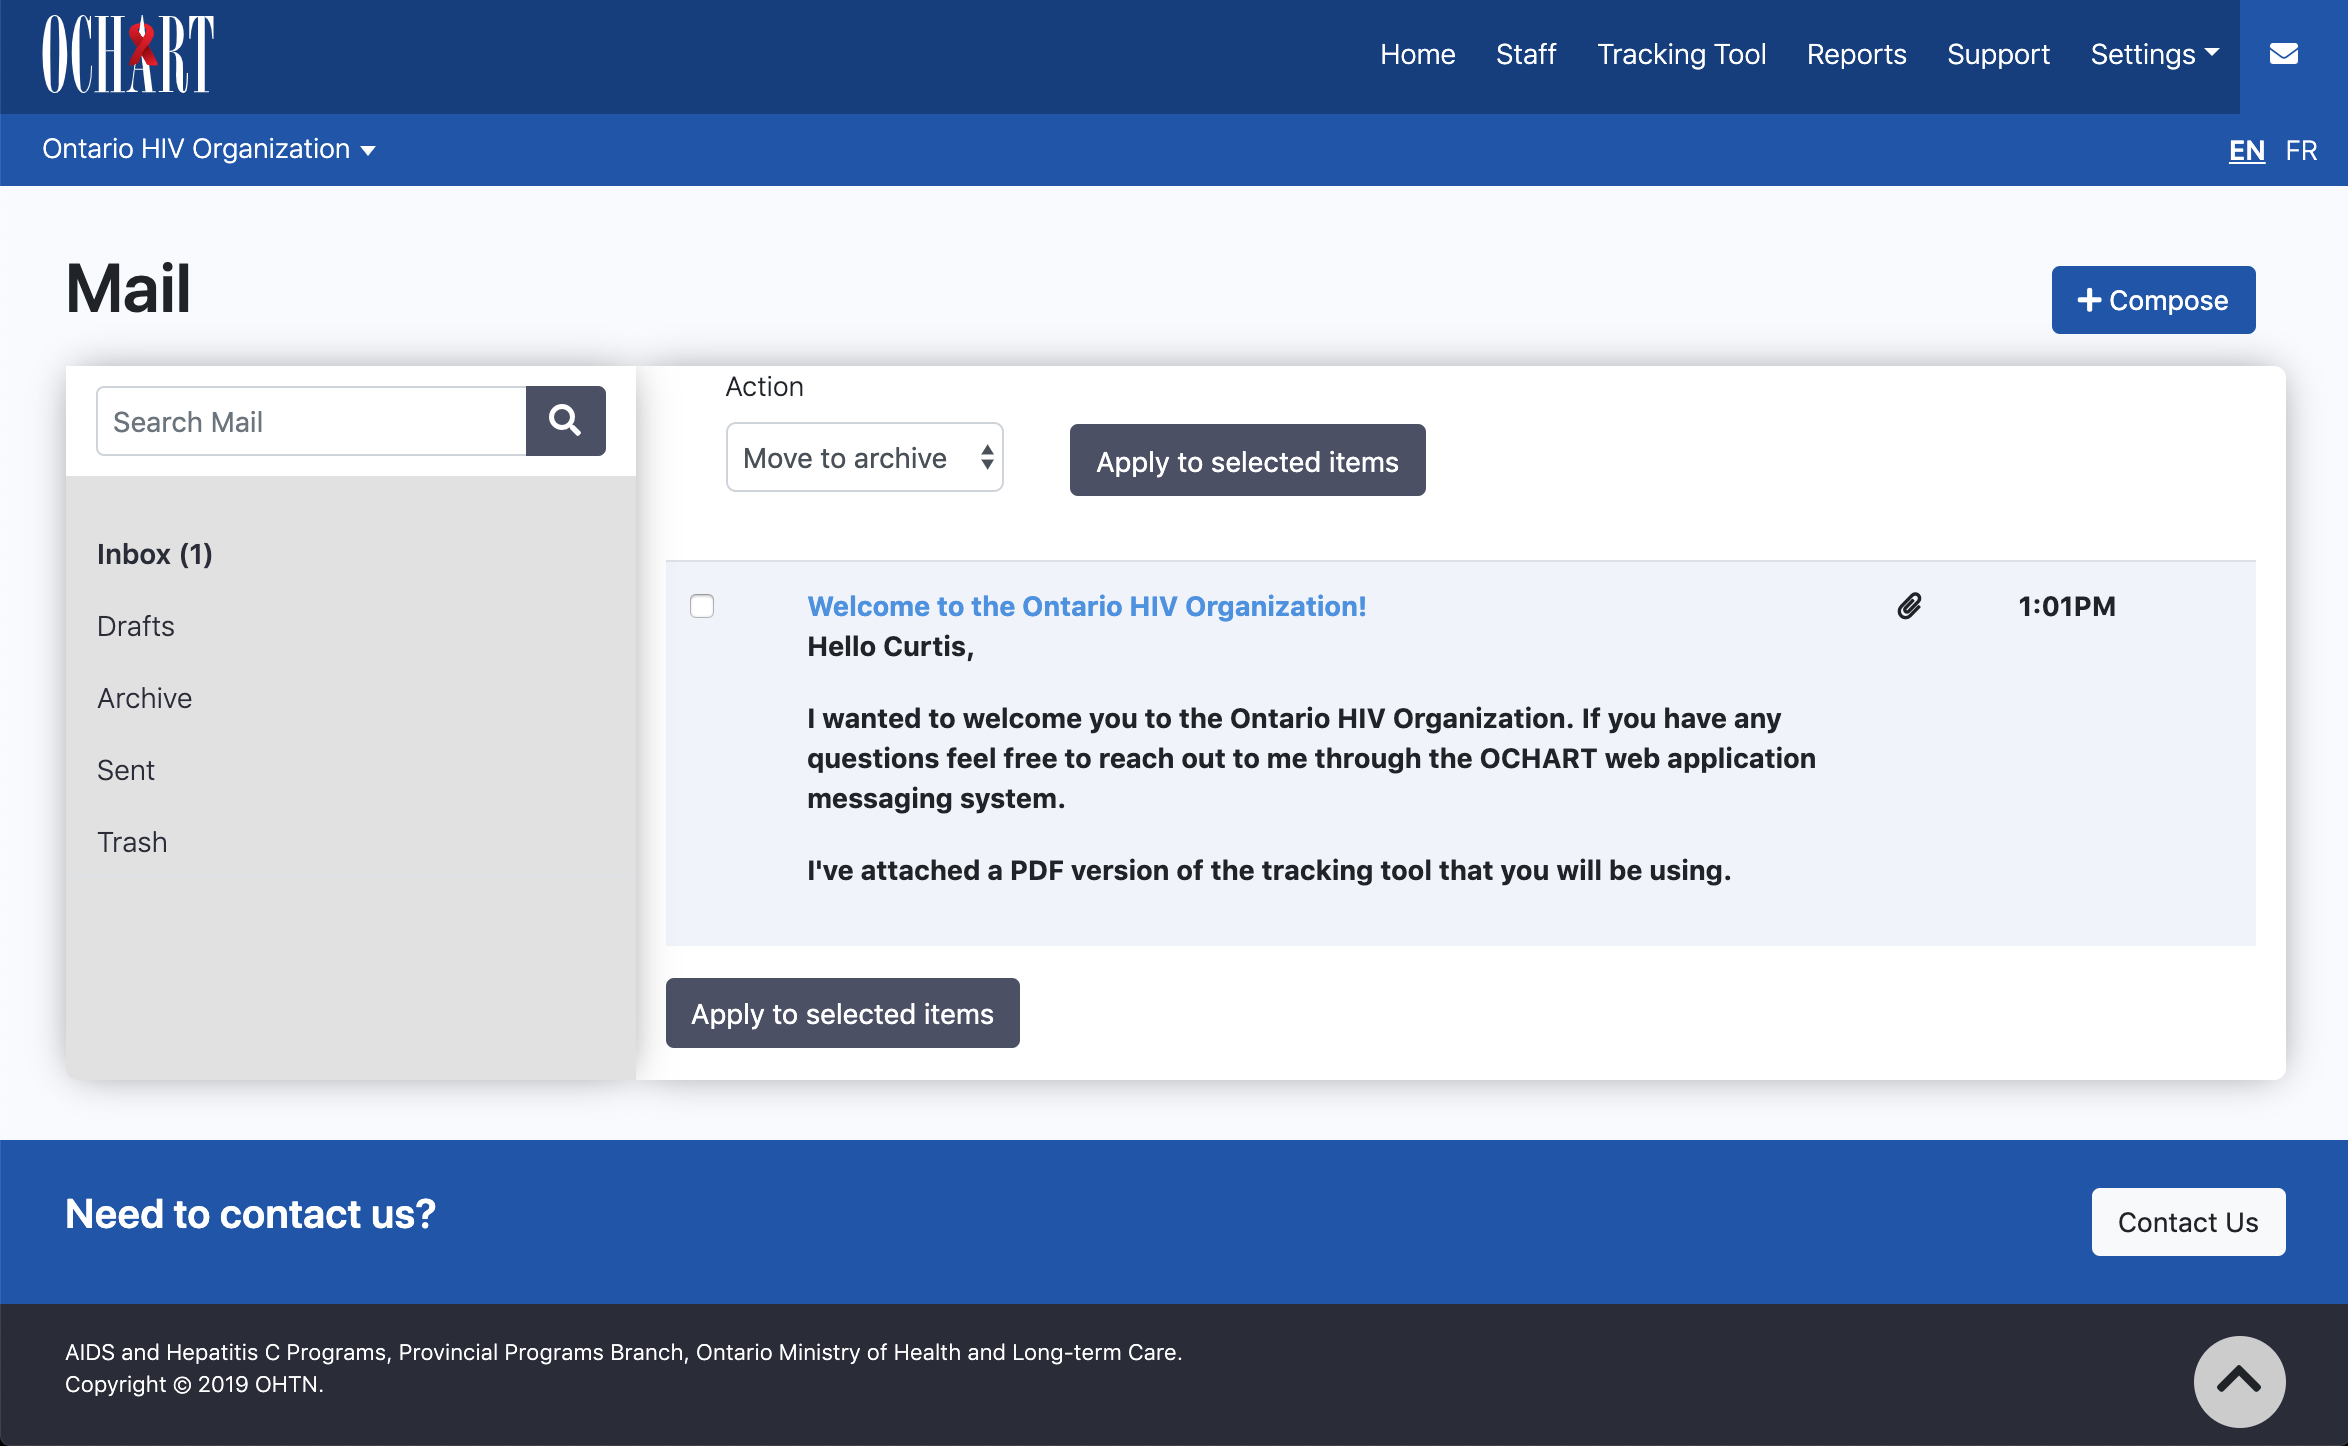
To create send a message, click the Compose button located at the top right of the inbox message list.
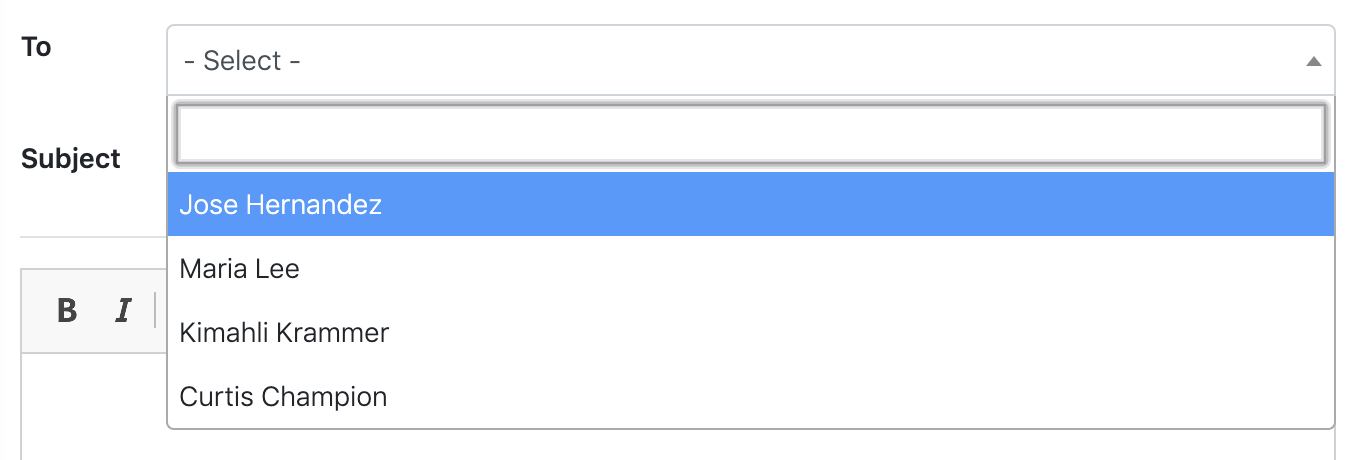
In the "To" field, start typing the name of someone in your agency and select the appropriate recipient from the dropdown.
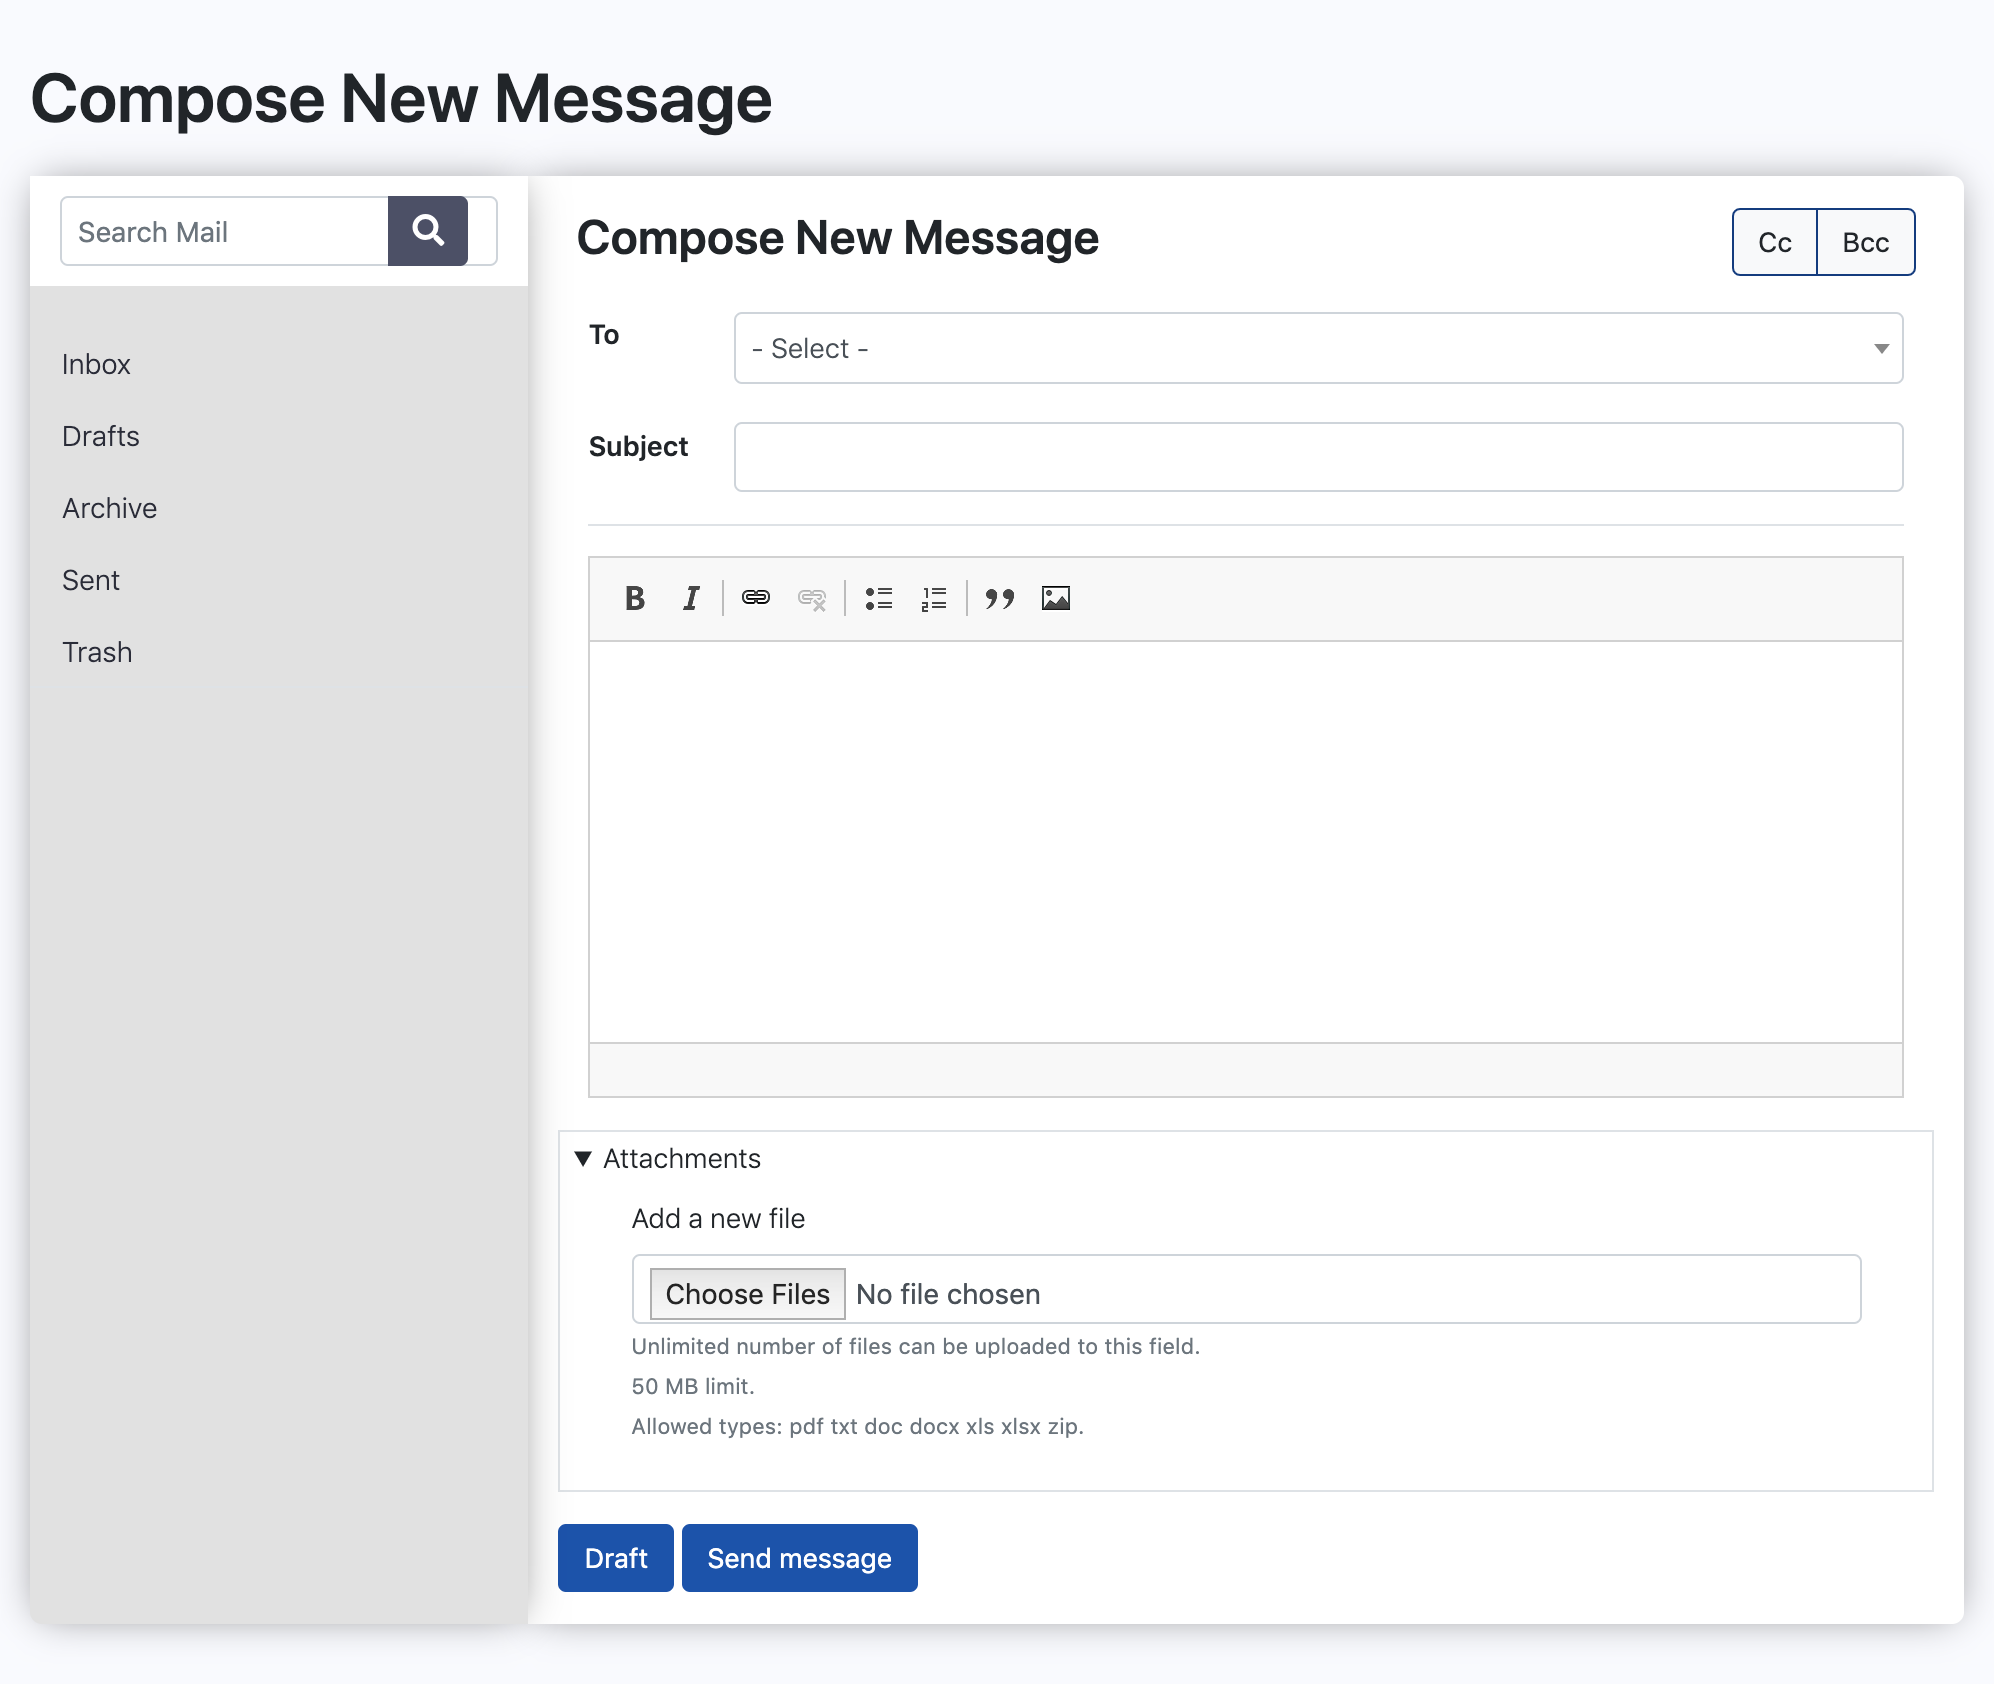
If you want to add additional recipients, you can do so with the CC and BCC fields. Click CC or BCC located in the top right of the message area. Click them again to remove the fields.
Just like the "To" field, type the name of someone in your agency and select the appropriate recipient from the dropdown. You can add multiple recipients to the CC and BCC fields by separating each recipient with a comma.
Next, enter the "Subject" of your message. This will be how the recipient identifies the message in their message inbox.
Add your message into the text area provided below. Use the editor tools to format your message.
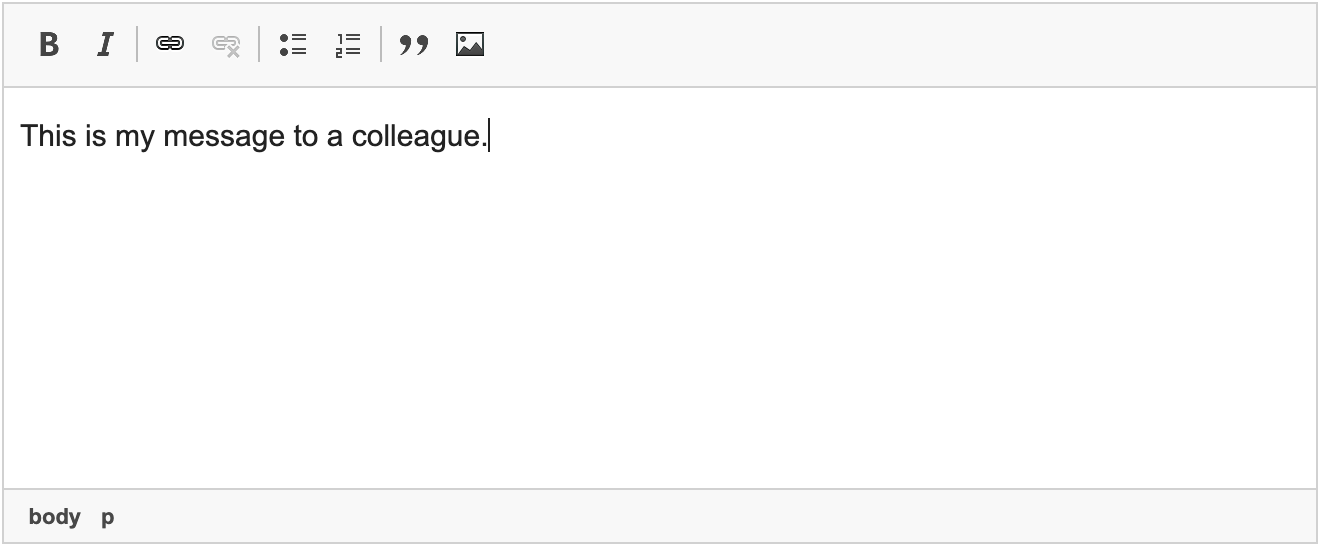
From left to right, the tool options are:
Bold: Apply bold to text (example bold)
Italicize: Apply italicization to text (example italicize)
Link: Highlight text to link to an external page or file.
Remove Link: Removes a hyperlink from text.
Bullet List: Creates a bullet list.
Number List: Creates a numbered list.
Quotation: Applies quotation style to highlighted text.
Insert Image: Click to add an image.
- Click the "Choose File" button and locate the file on your computer.
- Select the file and click "Open".
- In the Alternative text field, enter a brief description of the image.
- Choose the alignment of the image. Left alignment will allow text to flow to the right of the image. Right alignment will allow text to flow to the left of the image. Text will not flow to either side if none, or center are selected.
- Check Caption if you want to add descriptive text below the image, that will remain with the image wherever it is positioned. This will add an editable text field below the image once the image has been added.
- Click Save to finish adding the image.
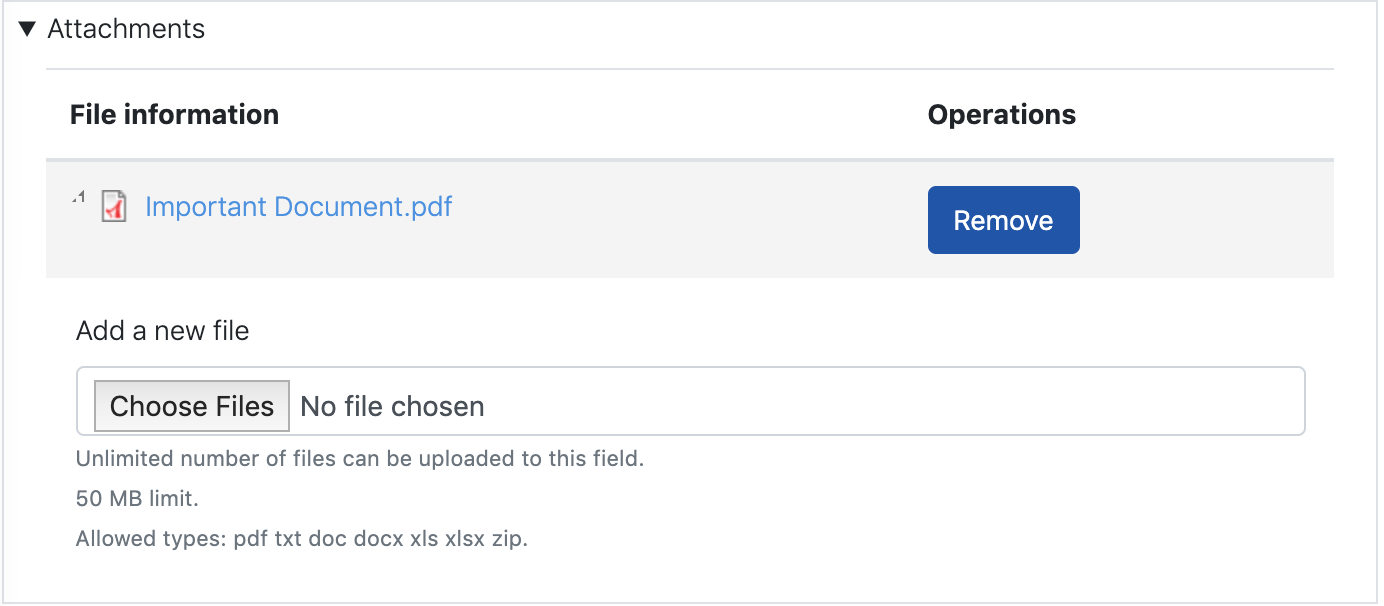
You can also add attachments to your message by clicking Choose file in the 'Attachments' section. Select the file from your computer and click Upload.
You can add multiple files by repeating the process.
If you want to remove a file, click Remove next to the file name.
If you want to save the message for further editing before sending to the recipient, click Draft. This will move the message to the draft list, accessible from the messaging menu in the left sidebar.
If the message is ready to be sent to the recipient, click Send Message.
